
ZenGrove
Grow a plant, one node at a time.
Grow a plant, one node at a time.
Explore all 44 nodes with illustrated Maya views and plain-English explanations of every setting. Build trunks and branches, place foliage, shape growth, add wind and prepare your output.
Mesh Trunk
Uses an existing Maya trunk mesh as the starting structure for procedural branches and foliage. ZenGrove finds paths inside it while preserving the imported mesh's shape.
Materials
Branches
- Select the trunk mesh and click Assign Selected Mesh.
- Use Pick Base for its start. Add a tip hint for each terminal end you want to follow.
- Build Preview, then enable Skeleton Visible to check the paths.
- Connect the structure to Branch or a leaf-placement node. Roots can attach to generated branches, but not directly to the imported trunk. The imported trunk remains static.
Input
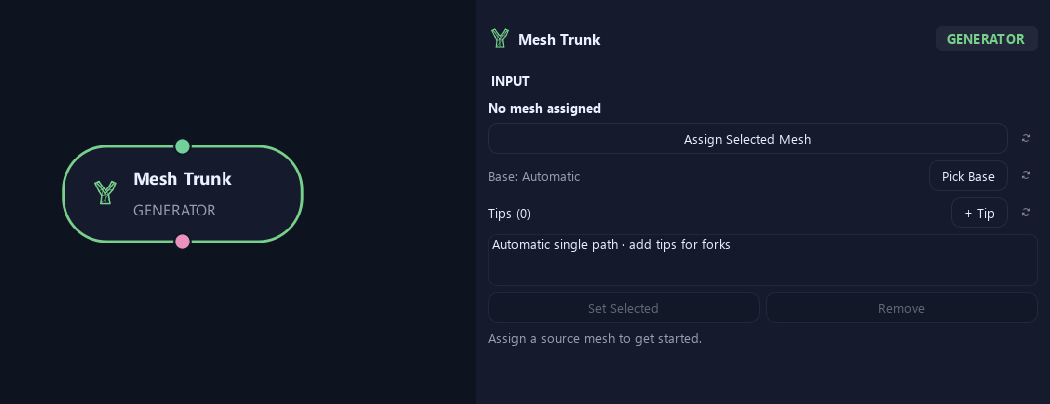
- Mesh
Assign Selected Mesh captures your trunk. Pick Base uses selected faces, vertices or a locator for its start. Add a Tip for each desired terminal end, including forks. Set Selected moves a chosen tip to your selection; Remove deletes that hint. Without tips, one path is found automatically.
Analysis
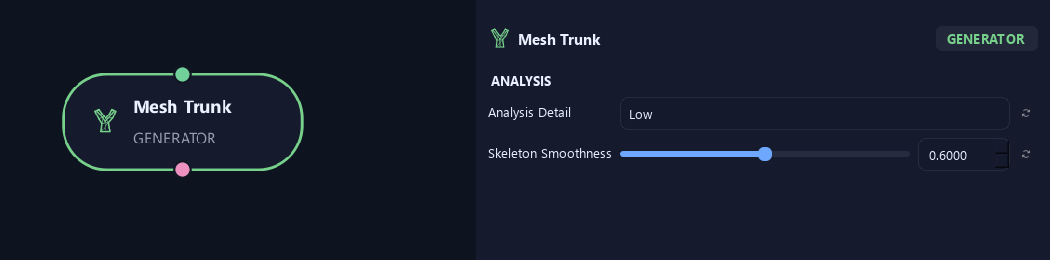
- Analysis Detail
Chooses Low, Medium or High analysis detail. Higher detail can follow smaller features and takes longer. Start with Low and increase it if paths need more detail.
- Skeleton Smoothness
Smooths the internal paths. Higher values soften small bends; lower values follow sharper changes more closely.
Advanced

- Analysis
Re-analyzes the source mesh. Auto and Build Preview already refresh changed analysis. Use Rebuild for an explicit refresh and read the status beneath it.
- Skeleton Visible
Shows analyzed paths in Maya so you can check the base, forks and tips against the source mesh.
What is ZenGrove used for?
Explore all 44 nodes with illustrated Maya views and plain-English explanations of every setting. Build trunks and branches, place foliage, shape growth, add wind and prepare your output.
Which host application does ZenGrove support?
ZenGrove is built for Autodesk Maya and is distributed through AO Studio Tools.
Where can I download ZenGrove?
Download the current AO Studio Tools package from https://aostudio.tools/getthetools.html and install it through AO.Hub.