
ZenGrove
Grow a plant, one node at a time.
Grow a plant, one node at a time.
Explore all 45 ZenGrove nodes for Maya with illustrated settings. Shape Cross Section profiles, create multi-way Splits, find properties and build procedural plants.
Cross Section
Shapes procedural branch tubes with a custom closed Bézier cross section. Start from Circle, Oval, Lens or Triangle, edit points and tangents, then control width, thickness and orientation along the growth path.
Branches
Branches
- Connect Trunk / Branch / Spline Growth → Cross Section → Radius Profile → Output.
- Choose Circle, Oval, Lens or Triangle from Preset. The Shape illustration below uses Lens; new nodes start with Circle.
- Drag points or handles to edit the contour. Alt + drag unlinks a tangent; Shift + drag links it again. Use Corner for sharp corners or Smooth for smooth tangents.
- Set Width, Thickness, Alignment and Rotation, then Build Preview. Put Cross Section before Leaves or Asset Scatter so their Surface Offset follows the shaped tube.
The contour must stay closed, counterclockwise and free of crossings or self-touching edges. Invalid edits return to the last valid contour on release and show a reason. Keep at least three points and keep the contour around the origin for reliable foliage placement.
Radius Profile and Taper still control thickness along the branch; Cross Section controls the shape around it. A later Cross Section replaces the earlier contour within its Affect scope. One contour is used along each selected branch; holes, profile morphing and a separate twist profile are not supported.
The modifier applies to procedural tubes. Static Mesh Trunks retain their mesh shape, and captured segment assets keep their own topology. Resolution and LOD retain authored corners, which can require more radial samples than a low requested count. Corner points create hard edges along the tube; concave caps are triangulated.
Collision and Self Collision use a conservative round envelope, so flattened profiles can retain extra clearance. Surface Offset places assets by intersecting the contour from the centerline.
Affect
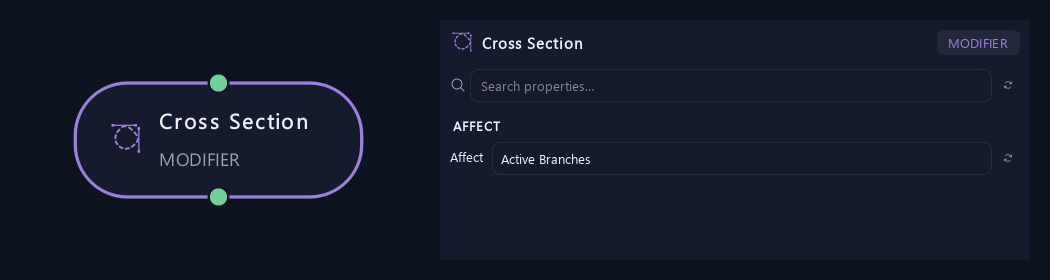
- Affect
Chooses which procedural branches receive the contour: the active generator cohort, that cohort and its descendants, the active generated hierarchy, or the entire input. After Split, Active Branches affects the upper continuations; Entire Input also includes the lower branch.
Orientation
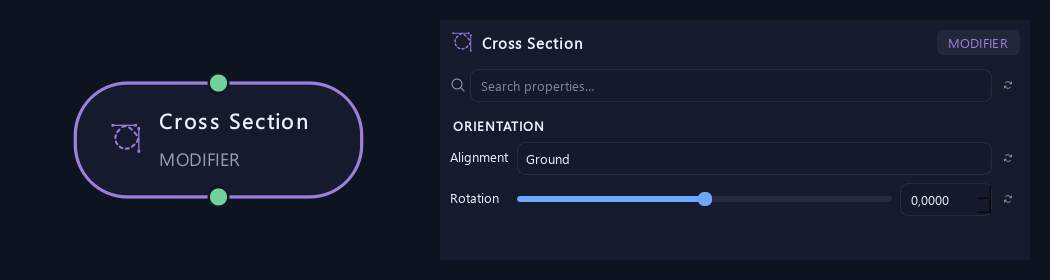
- Alignment
Establishes orientation at the branch base, then transports it along the curve with minimal twist. Ground starts with horizontal width. Parent sets width across the parent/child plane and falls back to Ground without a parent. Local keeps the original tube frame. Ground does not flatten every ring along a bent branch.
- Rotation
Adds roll around the branch tangent after alignment. A 90-degree rotation turns a flat profile edge-on.
Shape
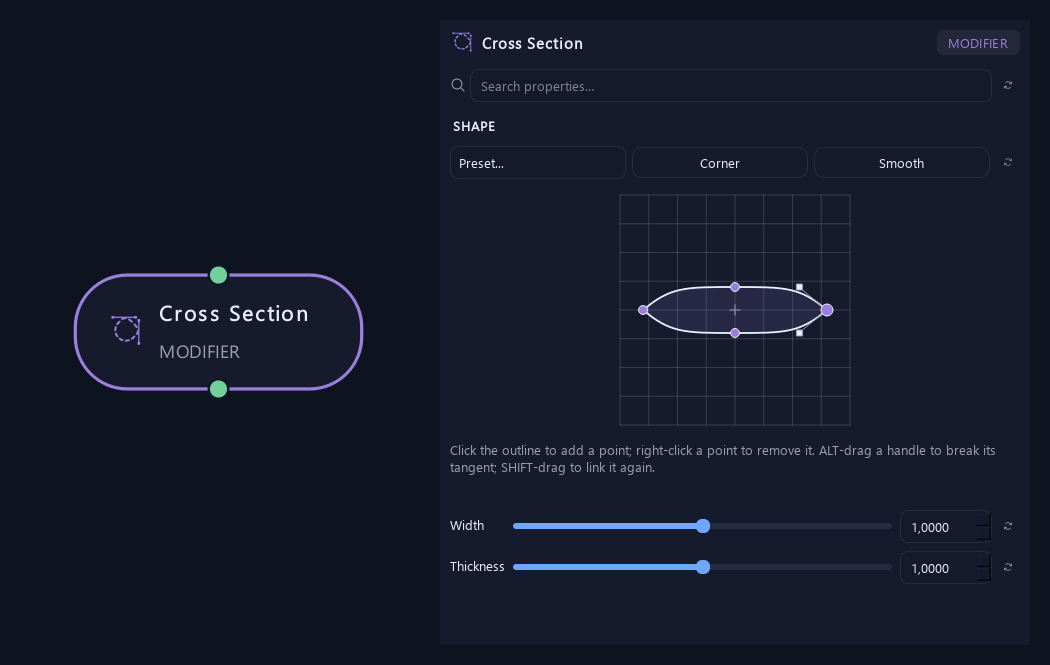
- Cross Section
Edits a closed, counterclockwise cross section. Choose Circle, Oval, Lens or Triangle from Preset, then move points and handles. Click the contour to insert a point; right-click a point to remove it, keeping at least three. Alt-drag unlinks a tangent; Shift-drag links it again. Corner collapses the handles and Smooth restores them. The default is Circle; the illustration uses Lens.
- Width
Scales the contour along its width relative to the existing branch radius. It combines with the branch radius and any Radius Profile or Taper along its length.
- Thickness
Scales the contour along its height relative to the existing branch radius. Circle with Width and Thickness both set to 1 preserves the ordinary round tube.
What is ZenGrove used for?
Explore all 45 ZenGrove nodes for Maya with illustrated settings. Shape Cross Section profiles, create multi-way Splits, find properties and build procedural plants.
Which host application does ZenGrove support?
ZenGrove is built for Autodesk Maya and is distributed through AO Studio Tools.
Where can I download ZenGrove?
Download the current AO Studio Tools package from https://aostudio.tools/getthetools.html and install it through AO.Hub.